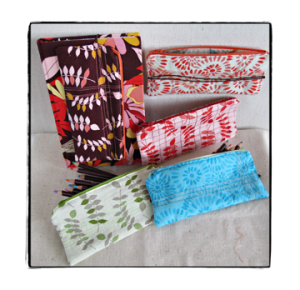
Happy Friday! This is my first instalment of Simply Made. What is Simply Made? Let me tell you....I have tons of ideas and projects that are easy, and great weekend or day projects, as well as yummy food and drink recipes. I thought that I would start sharing them with all of you....
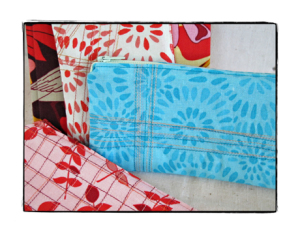
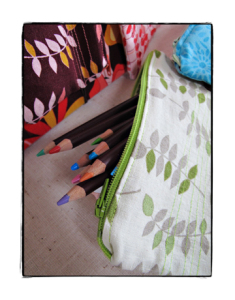
This week I will share my Pencil Case pattern. I love to carry my sketch book around but I dislike not being able to find a pencil or pen when I need it. This pattern solves all of those problems.
Ready to make a pencil case?
Pencil Case....
3 3/4" x 8" finished size
What you will need...
Fat Quarter for outside of pencil case or scraps the size of the cutting measurement
Fat Quarter for the lining of pencil case or scraps the size of the cutting measurement
Thread for Decorative Stitching and sewing together
7" zipper
*optional - elastic to attach to the pencil case so that you can put it around your sketch book and never be with out a pen or pencil - for my sketch book I pulled the elastic around the book making it tight, subtracted the finished size of the case, 8". My elastic size came out to 8" long. I used a cord type of elastic but you can use any type of elastic.
Cutting...
Cut 2 - 4 1/4" x 8 1/2" pieces from outside fabric
Cut 2 - 4 1/4" x 8 1/2" pieces from lining fabric
Sewing....
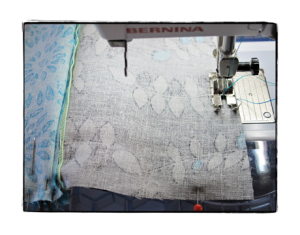
1. Stitch decorative lines on the ouside pieces of the case if desired.
2. Press the top edges on all four pieces of fabric down 1/4".

3. Place the zipper right side up on the foleded edge of one of the lineing pieces.

4. Place one of the outside pieces folded edge on top of the zipper. Pin through all three layers. Making sure the fabric pieces are lined up and at the edge of the zipper.
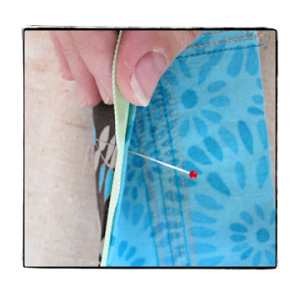
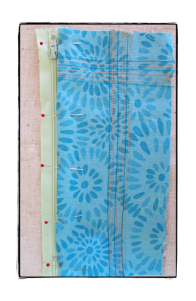
5. Using a zipper foot, stitch along the edge of the fold. Do not sew over pins.
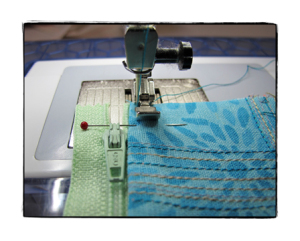
6. Repeat the pinning and sewing process for the other side of the pencil case.
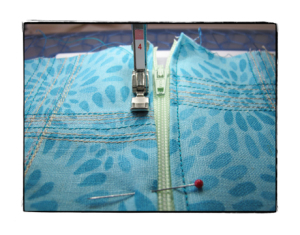
7. Unzip the zipper and place the outside fabric right sides together and the lining pieces right sides together.
8. Pin around the edges of the pencil case, make sure you fold the edges of the zipper area to the lining side.
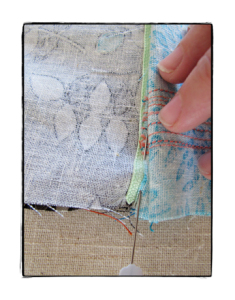
*If you are adding the elastic - pin one end of the elastic piece to the edge of the outside piece of fabric - lining up the end with the raw edges, lay it over the fabric making sure not to twist and pin to the other side. When you sew around the case the elastic will be secured in the seam.
9. Leaving a 2" opening at the bottom of the lining pieces stitch around entire piece.
10. Carefully clip the corners.
11. Pull the case right side out through the opening at the bottom of the lining.
12. Push the corners out with a chop stick and press entire piece.
13. Top stitch along the bottom edge of the lining to close hole.
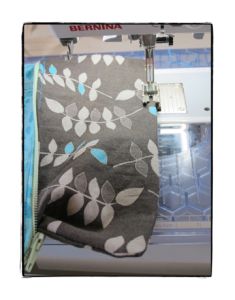
14. Push the lining into the outside piece.
15. TaDa your done!!!!!

If you need a cool journal....Rag and Bone Bindery makes amazing journals, even using Del Hi Yellow Pom Pom Dahlia...which they call Zinnia. I sent them some of my fabric and they made journals just for us at Twigs (that is our gift shop next to the Stitchin' Post)......
Bloom... one of the great things about these journals is that they are hand made and the paper is AMAZING.....
Ingrid....
Jenaveve....this is the one I have, looks a little different because they are hand made.
I hope you enjoyed the first Simply Made....Have a Great Weekend!!!!
XXOO
Valori

