Don't we all want to be a little more green these days.....I think that grocery bags are one of the easiest ways to be green. But lets at least make them stylish....here is a pattern for a simple grocery tote that you can make out of any home decorator fabric and even traditional cotton quilting fabric. Since the bag is lined it is very sturdy.....I have tested them.
Sole Grocery Tote
Fabric Needed:
Outside of tote: 15" x 54" - 1/2 yard 54" home decorator fabric
Lining and Handles of tote: 23" x 54" - 2/3 yard 54" home decorator fabric
Cutting out of pieces:
Outside:
Cut 2 - 13" x 15" pieces for front and back
Cut 1 - 8" x 13" piece for bottom
Cut 2 - 8" x 15" pieces for sides
Lining:
Cut 2 - 13" x 15" pieces for front and back
Cut 1 - 8" x 13" piece for bottom
Cut 2 - 8" x 15" pieces for sides
Handles:
Cut 2 - 4" x 52" pieces for handles
Assembly:
1. Fold one handle in half lengthwise and press - this will give you a guide line for the rest of the pressing.
Unfold and fold the raw edge (the length of the handle) just to the previous pressed line - press and repeat with the other raw edge. Fold in half again lengthwise and press - the raw edges are now enclosed. Repeat for the other handle. 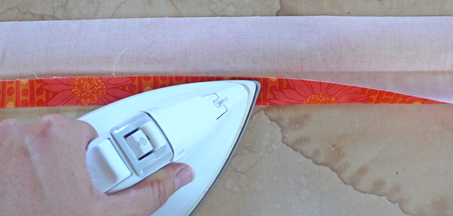
2. On the front and back outside pieces - Press 1/2" down from top.
3. Starting at the bottom of the front piece measure in 3" from each side and pin handle stopping at the pressed top edge. - Repeat with the back of the bag.
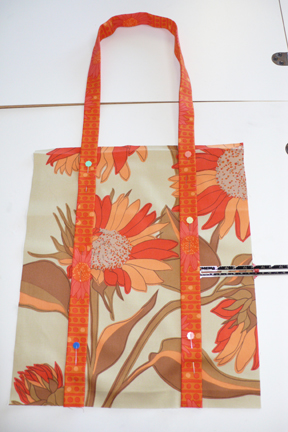
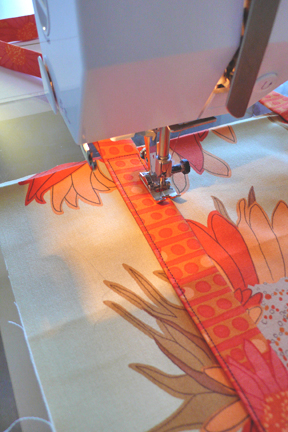
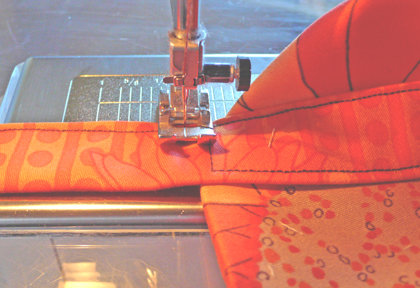
4. Top stitch the handles down starting at the bottom, stopping just before the folded edge, pivot 90 degrees and top stitch along the top, pivot again 90 degrees and finishing top stitching to the bottom of the handle. To finish top stitching the handle start stitching just past the fold edge of the top of the bag and continue around the handle to the other side of the bag, pivot 90 degrees and stitch along top, pivot 90 degrees and stitch back to the other side, pivoting 90 degrees at top and stitch, pivot 90 degrees again and finish where you started.
5. With right sides together stitch one end of the bottom piece to one end of a side piece - starting 1/2" from the top and ending 1/2" from the bottom. Repeat with the other side of the bottom and the other side piece - you will have one long piece - it will be refered to as A.
6. With right sides together pin the front of the bag to the side of piece A, stitch from the top ending 1/2" from the bottom. Fold A so that the bottom piece lines up with the bottom of the bag pin - start stitching 1/2" in from the top and to 1/2' from the bottom. Fold A so that the side piece lines up with the other side of the front , pin and stitch starting 1/2" from the bottom to the top. Repeat with the back.
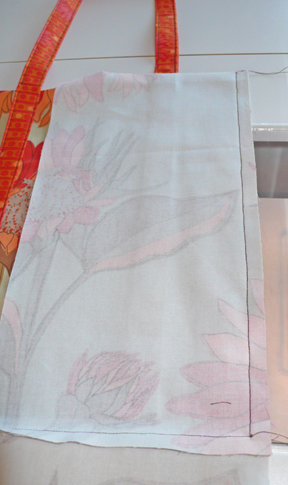
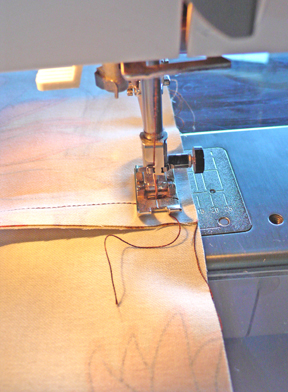
7. To make the lining repeat steps 5 and 6.
8. Press 1/2" down around the top edge of bag. Repeat with lining.
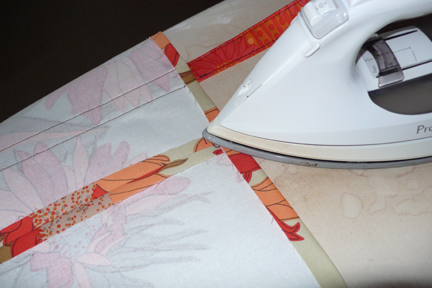
9. Turn outside of bag right side out and put the wrong side of the lining to the wrong side of the bag.
10. Pin edges of bag, top stitch around top edge securing the lining to the outside.
11. Press and go shopping…….
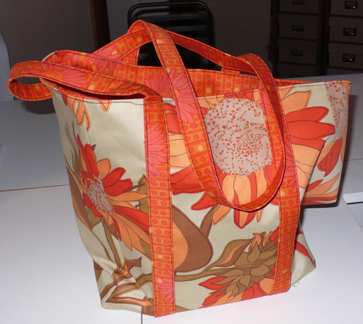
Enjoy!
Valori


