


Happy Friday!!! Another beautiful day in Sisters....I think Summer is finally here! Summer makes my weekends perfect....not stuck in the house when it is raining and cold. UUUGGGHHH!!! Summer keeps us outside...in the garden, on the deck just enjoying our lives!
But before we embrace the weekend how about a simple project to add color and style to your summer....Flange Edge Pillows. The pillows are only outside when I am or we are having company. I remake my covers once a year since having them outside fades the fabric..... I also change my fabric frequently since I have new designs out every six months.These are made out of Cocoon Cotton Linen...yummy to work with...
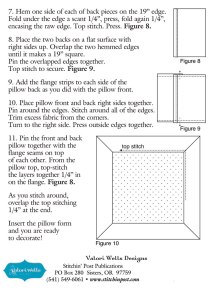
And now for the down loadable version.....there are two different pages. It is designed so that you can print one page out flip it over and print out the other page, trim if needed and fold in half for a card! Fun to give away with some fabric and a pillow form as a gift.
Download 5x7_FlangePillow-web-1
Download 5x7_FlangePillow-web-2
Now an update on the Summer Night Shawl with the knitted lace edge.....I had a lot of sitting around time last weekend when we worked the Rodeo Dance.....and I am excited to say the scarf is done! Made with Cocoon Voile...yummy! I am testing my knitting instructions on another shawl and then I will share the knitted lace edge pattern.
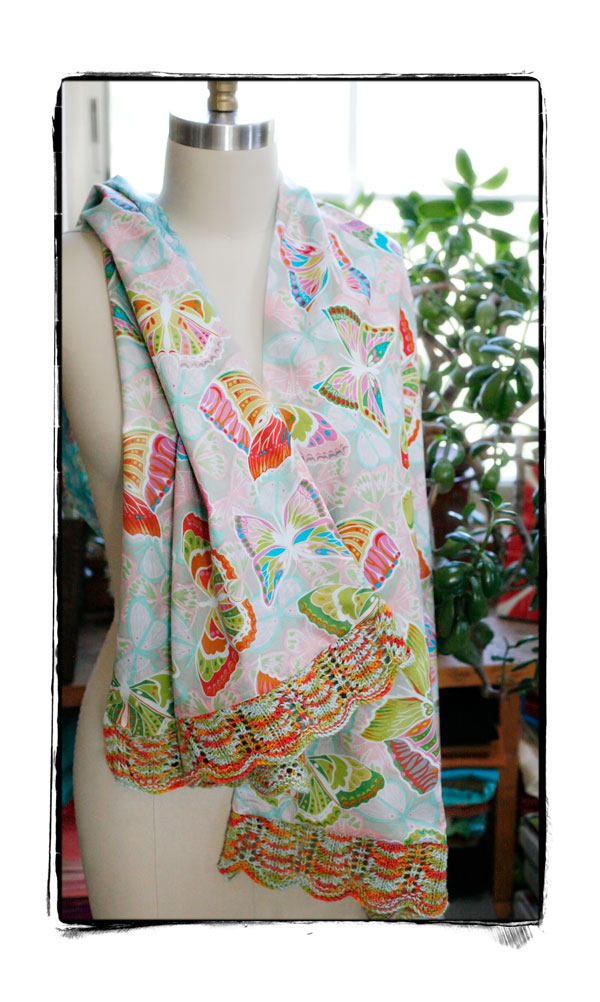
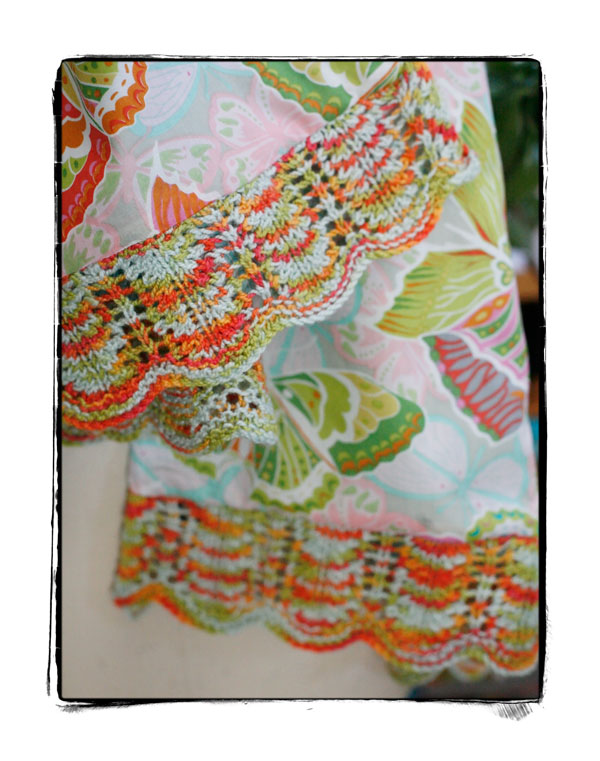
My only added touch will be to topstitch in around the edges about 3/4" in from the seam.
I think it will be nice....Next will be a wrap dress to go with the scarf that I can wear to a wedding in a couple of weeks....
Have a great weekend!
XO
Valori
Happy Friday!!! Always a great day to start a new project.....I have a perfect simple project for you. A summer shawl made out of voile.....so soft and light and stylish.
Yummy Cocoon Voile....all you need is a yard of two different pieces.....
And you can make a beautiful shawl....
You can download this easy Download SummerNightsShawl-web and share with your shop or your friends!!!!
I love my shawl and I have decided to make it even better....I am knitting a lace edging that will go on the short edges of the shawl. Once it is done I will pass on a photo....One of my goals is to create patterns that incorporate fabric and knitting....
Have a great weekend!!!
XO
Valori
Hello my friends.....it is the next instalment of Simply Made.
I love to make receiving blankets for babies out of flannel but in the summer you need something cooler. Cotton Voile...the perfect solution to a cozy and cool receiving blanket for the summer.
Summer Baby Blanket
Materials:
1 1/3 yard flannel
1 1/3 yard cotton voile
matching thread
* Wash fabrics in a mild detergent on cold, tumble dry low before sewing - I wash the flannel with the voile.
Cutting:
Fold the flannel from corner to corner to make a large triangle, cut off each edge to make a nice clean square.
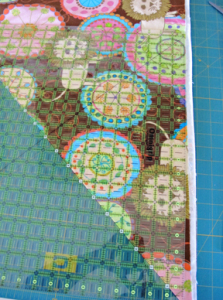
Lay voile face up on a flat surface and tape edges.
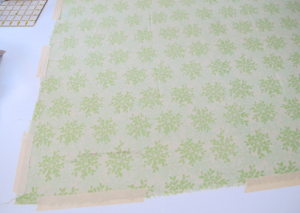
Lay flannel square face down on voile and pin around edges.
Sewing:
Use a larger stitch on your machine, ie 3 or 3.5 rather than a 2.5. This will keep the two fabrics from pulling and puckering.
*I made a blanket with the voile on top and one with the flannel on top. Either way it is slippery so take your time and gently pull the fabrics from the back side of the machine as you are sewing.
Using a 1/2" seam allowance, stitch around entire blanket leaving an opening on one side that is 4" - 6" wide, for turning.
Clip corners and turn right side out, press.
Whip stitch the opening closed.
Top stitch around entire blanket at about 1/2" to 5/8" in from edge.
Wrap up and give to a new baby...
The cute elephant is Elsa one of my sewing cards...she is so easy to make and a great addition to the hand made gift for a baby.
Enjoy....
Valori
I hope to write again before Quilter's Affair and Quilt Show hit....next week. I want to share the amazing photos that I took while I was in L.A.
Happy Friday! This is my first instalment of Simply Made. What is Simply Made? Let me tell you....I have tons of ideas and projects that are easy, and great weekend or day projects, as well as yummy food and drink recipes. I thought that I would start sharing them with all of you....
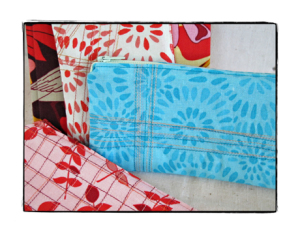
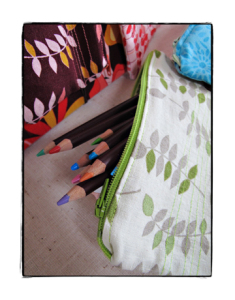
This week I will share my Pencil Case pattern. I love to carry my sketch book around but I dislike not being able to find a pencil or pen when I need it. This pattern solves all of those problems.
Ready to make a pencil case?
Pencil Case....
3 3/4" x 8" finished size
What you will need...
Fat Quarter for outside of pencil case or scraps the size of the cutting measurement
Fat Quarter for the lining of pencil case or scraps the size of the cutting measurement
Thread for Decorative Stitching and sewing together
7" zipper
*optional - elastic to attach to the pencil case so that you can put it around your sketch book and never be with out a pen or pencil - for my sketch book I pulled the elastic around the book making it tight, subtracted the finished size of the case, 8". My elastic size came out to 8" long. I used a cord type of elastic but you can use any type of elastic.
Cutting...
Cut 2 - 4 1/4" x 8 1/2" pieces from outside fabric
Cut 2 - 4 1/4" x 8 1/2" pieces from lining fabric
Sewing....
1. Stitch decorative lines on the ouside pieces of the case if desired.
2. Press the top edges on all four pieces of fabric down 1/4".

3. Place the zipper right side up on the foleded edge of one of the lineing pieces.

4. Place one of the outside pieces folded edge on top of the zipper. Pin through all three layers. Making sure the fabric pieces are lined up and at the edge of the zipper.
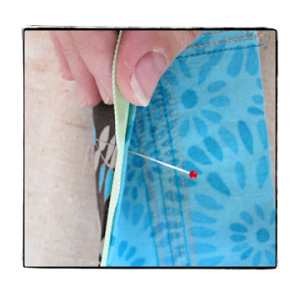
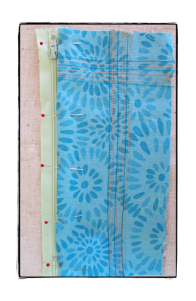
5. Using a zipper foot, stitch along the edge of the fold. Do not sew over pins.
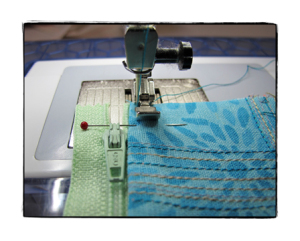
6. Repeat the pinning and sewing process for the other side of the pencil case.
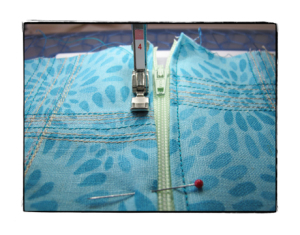
7. Unzip the zipper and place the outside fabric right sides together and the lining pieces right sides together.
8. Pin around the edges of the pencil case, make sure you fold the edges of the zipper area to the lining side.
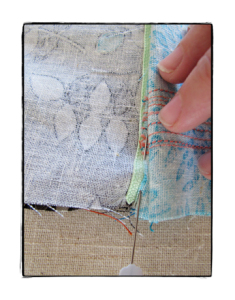
*If you are adding the elastic - pin one end of the elastic piece to the edge of the outside piece of fabric - lining up the end with the raw edges, lay it over the fabric making sure not to twist and pin to the other side. When you sew around the case the elastic will be secured in the seam.
9. Leaving a 2" opening at the bottom of the lining pieces stitch around entire piece.
10. Carefully clip the corners.
11. Pull the case right side out through the opening at the bottom of the lining.
12. Push the corners out with a chop stick and press entire piece.
13. Top stitch along the bottom edge of the lining to close hole.
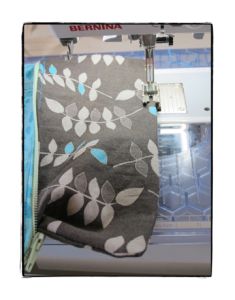
14. Push the lining into the outside piece.
15. TaDa your done!!!!!

If you need a cool journal....Rag and Bone Bindery makes amazing journals, even using Del Hi Yellow Pom Pom Dahlia...which they call Zinnia. I sent them some of my fabric and they made journals just for us at Twigs (that is our gift shop next to the Stitchin' Post)......
Bloom... one of the great things about these journals is that they are hand made and the paper is AMAZING.....
Ingrid....
Jenaveve....this is the one I have, looks a little different because they are hand made.
I hope you enjoyed the first Simply Made....Have a Great Weekend!!!!
XXOO
Valori